PARIAH ARMS
LATEST ARTICLE
Check out our latest article discussing the major variants in the roller lock family of weapons.

PREVIOUS ARTICLE
SFS Morale Patch Works
SFS is a side project of Pariah producing high quality morale patches made right here in the USA
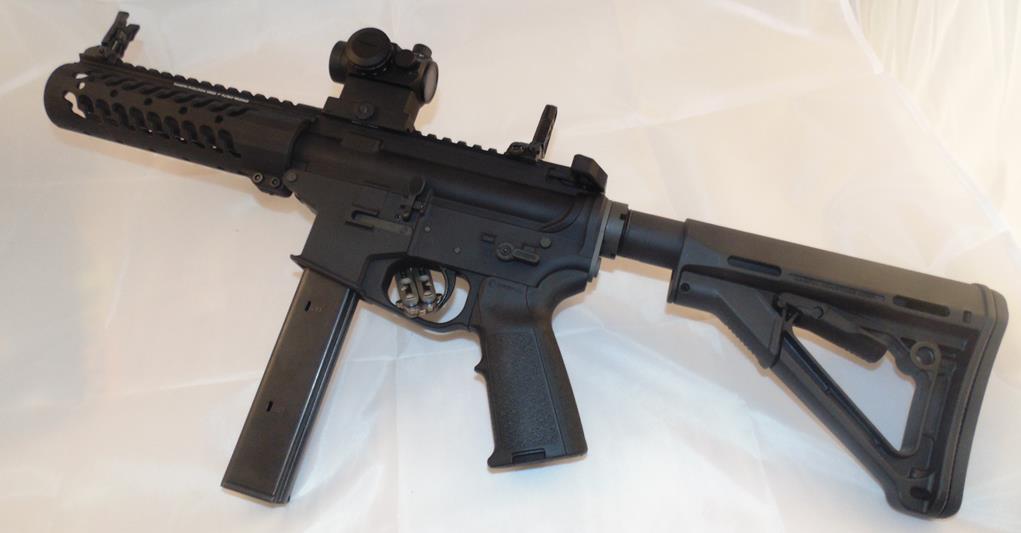
AR9 Build Pictorial
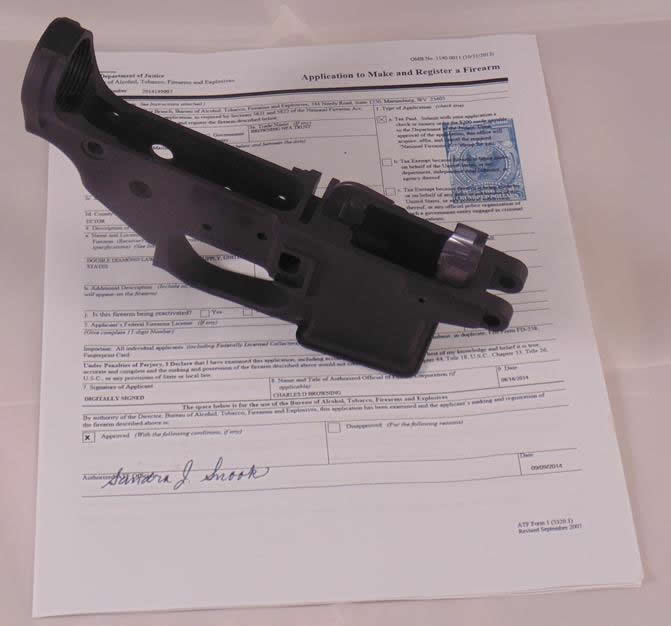
In this article, instead of discussing the AR9, we will be building one from a stripped lower all the way to a completed rifle. Hooray for less talking and more building!! The first step, thanks to the National Firearms Act of 1934, is to register the lower receiver with the BATFE on a Form1 as a Short Barreled Rifle. This build will have a 7" 3 lug barrel from Shark Precision in Plano Texas barrel which is shorter than the legal minimum length of 16" required to avoid a federal NFA tax stamp. I filed my Form1 via the ATF eForms website and got my approval after 24 days and the $200 tax paid.
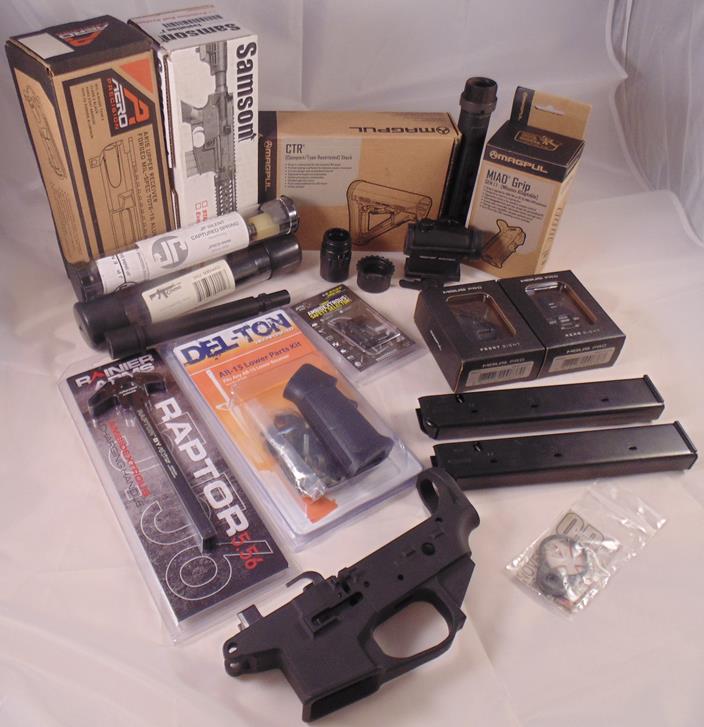
 So here are the parts I'm going to be running on this rifle along with a cost breakdown on them. Obviously my budget priced red dot will be much less expensive than an Aimpoint or Eotech, and you could trim a few dollars by opting for cheaper iron sights than the Magpul PROs or changing other items in the build like skipping the rather pricey JP Rifles captive silent buffer system. Speaking of the JP buffer, I went with it on this build since they've now started offering a 9mm specific version because of all the things in my AR9s the thing that annoys me the most is the noise of the action spring in the buffer tube. With most rifle caliber ARs the overall experience is too loud for that to be significant to me but suppressed 147s in an AR9 pretty much leaves the SHPROINK as the only thing you hear. Hopefully this will eliminate that.
| QC10 Colt pattern dedicated lower DelTon LPK Battle Arms Develeopment BADCASS Noveske QD Tailplate Magpul MIAD Magpul CTR Magpul PRO Irons PSA Buffer Tube JP Rifles 9mm Captive Silent Buffer Rainier Arms Raptor Charging Handle DPMS Barrel Nut Shark Precision 7" 3 lug 1:10 9mm barrel CMMG 9mm BCG Primary Arms Micro MD-07 red dot Aero Precision Non Forward Assist Upper Samson Evo 7" rail TOTAL |
292.00 65.18 97.90 25.76 39.99 60.70 147.68 39.99 147.05 91.00 5.65 225.00 184.00 90.66 101.43 150.00 1582.95 |
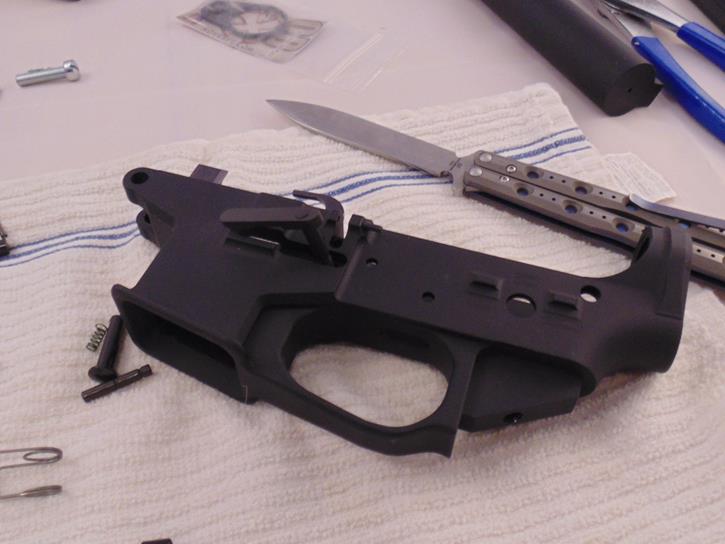
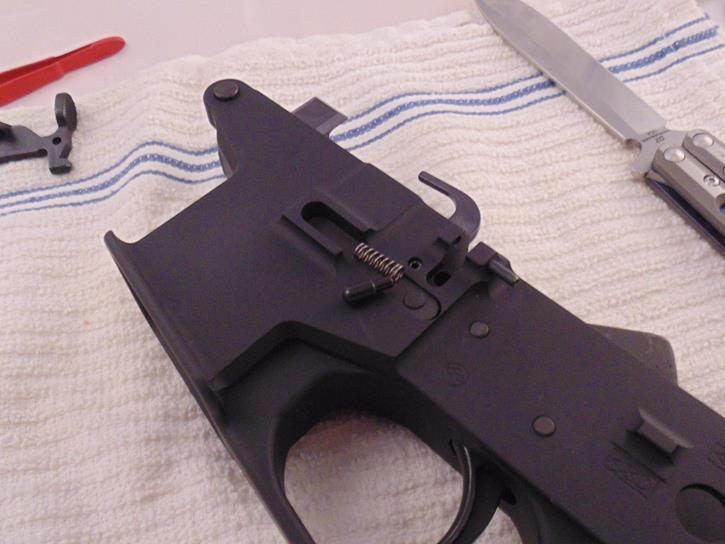
 In assembling the Lower Parts Kit into the stripped lower I always start with the mag catch. Drop the catch into place before turning the receiver over, placing the spring over the mag catch pin, and then press the button into place so that the catch sticks out of the other side. Screw the catch into the button, taking care not to scratch the receiver, until the pin is flush with the face of the button.
 Next I place the pivot pin detent spring in place and prepare to install the pin. I use a pair of tweezers to get the detent started into the hole (be careful as the pring will shoot this little grain of rice into a neighboring dimension where you will never find it again if you slip) before using the blade of a box cutter to press it the rest of the way in. The box cutter trick is handy because it leaves enough room that the pivot pin installs without any resistance or fiddling with the spring and detent. Pull the box cutter away and the detent will pop into the groove in the pin.
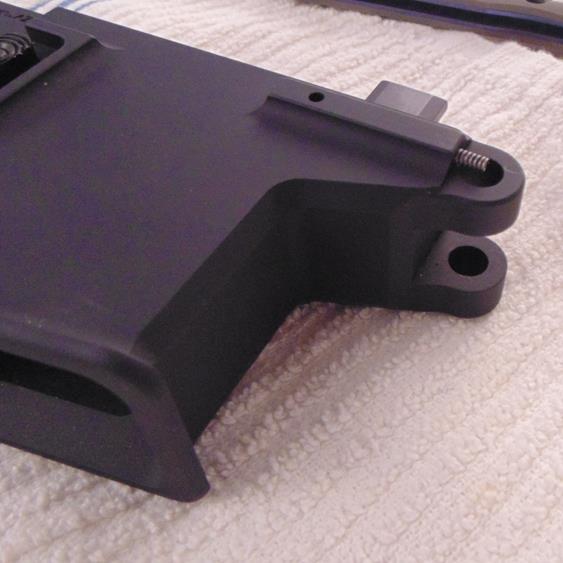

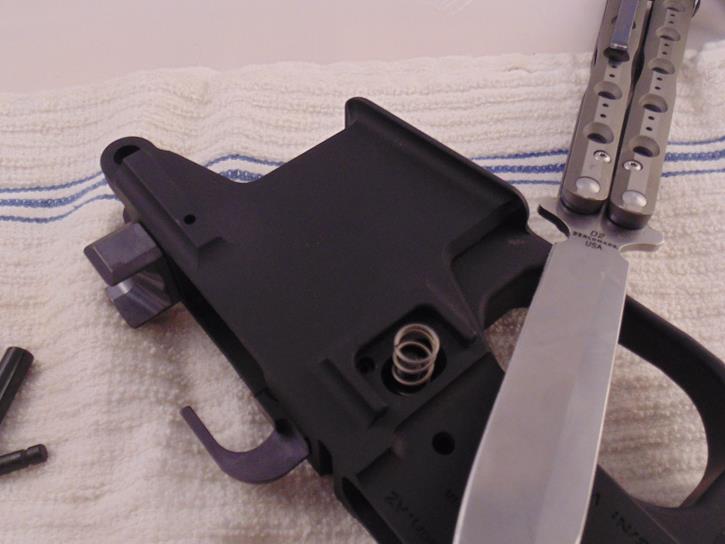
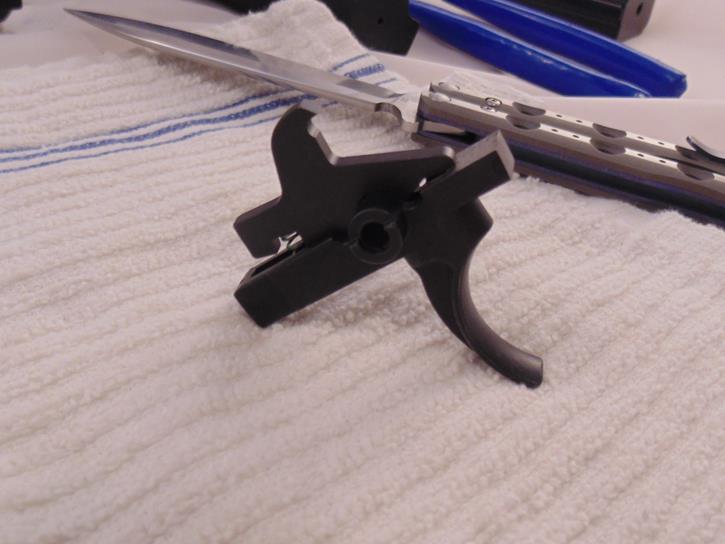
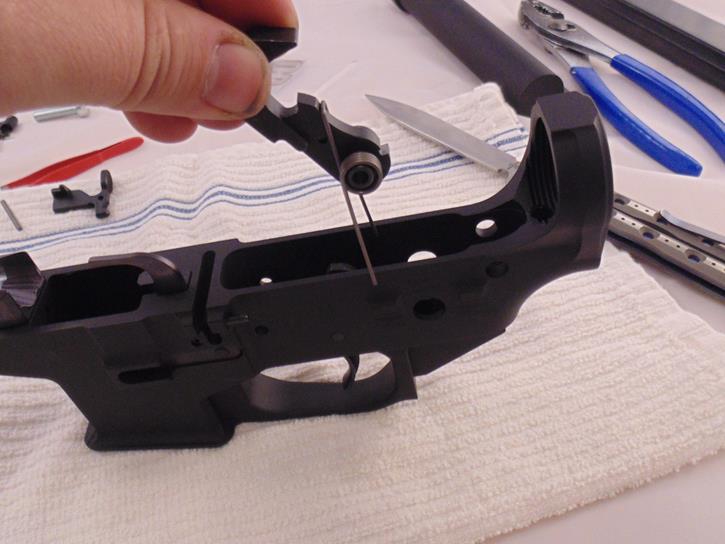
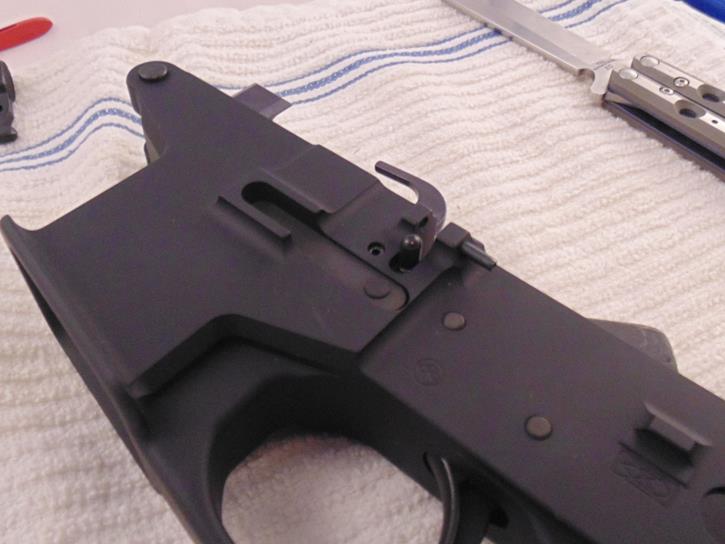
 Moving on to the fire control group you'll find a small green spring that's flared out at one end. This is the disconnector spring and gets installed in the trigger itself with the flared end wedged in so that the spring stays in place. Disconnector goes on top of that and the trigger spring is installed as shown. The whole assembly is installed in the lower from there.
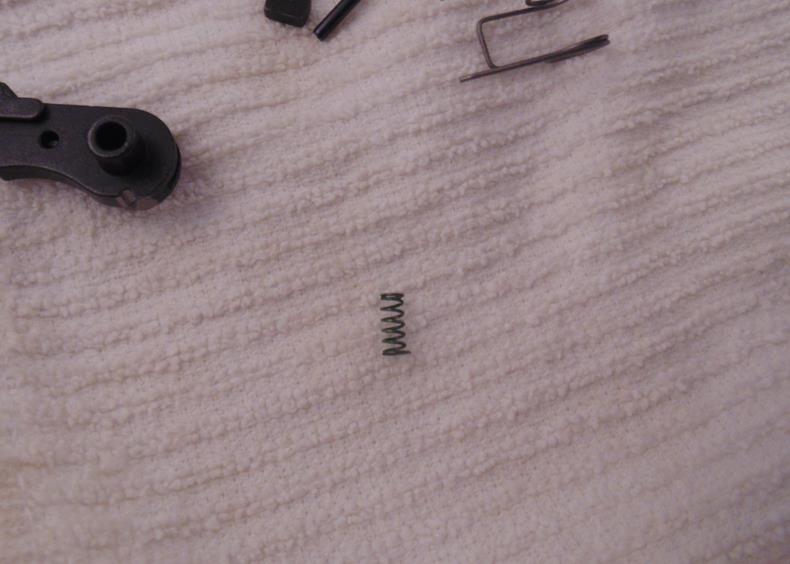

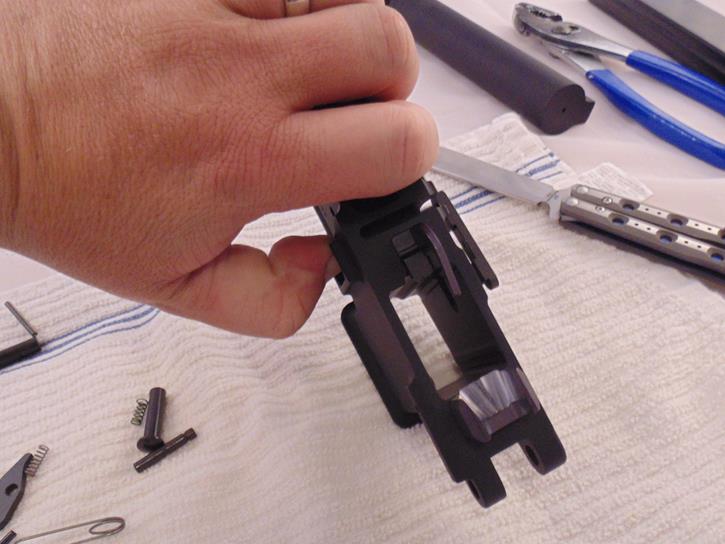
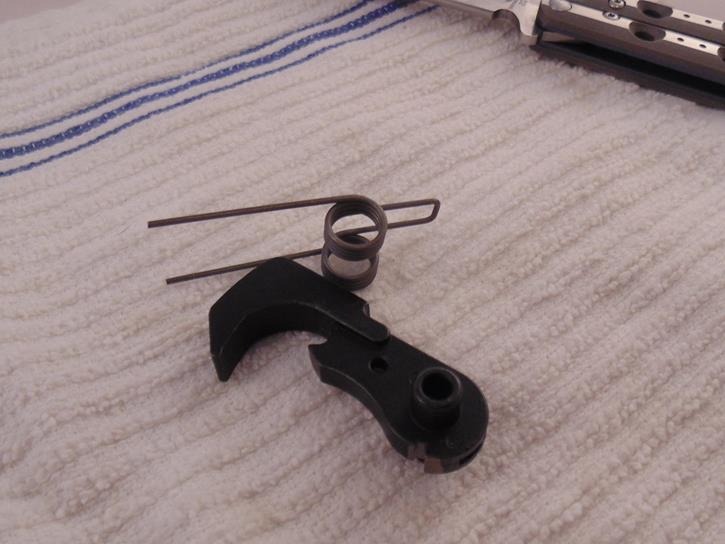
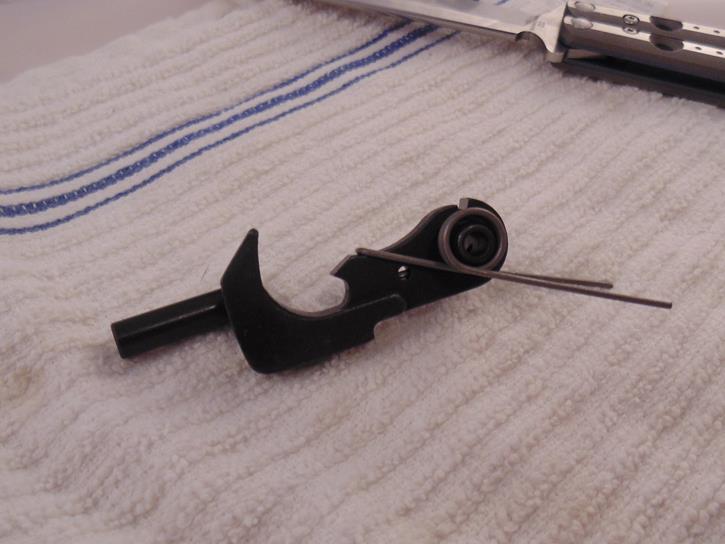
 The hammer spring gets installed as pictured, and then the hammer is installed so that the arms of the hammer spring lay on top of the trigger pin but I couldn't get a good photo of that.
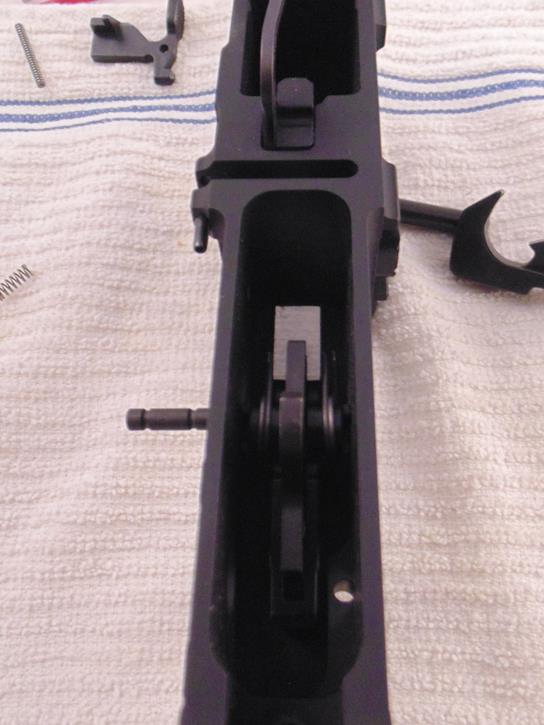
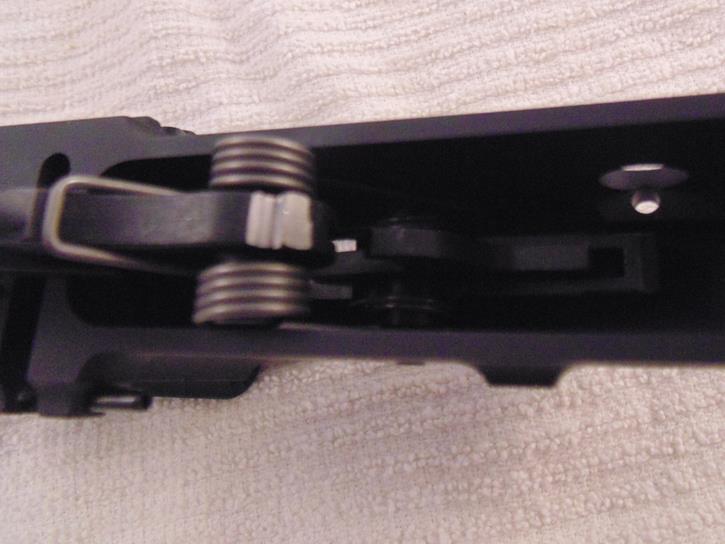
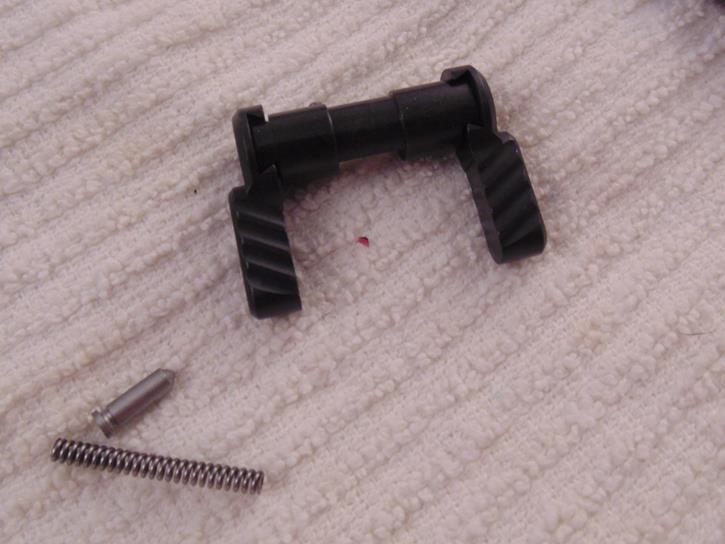
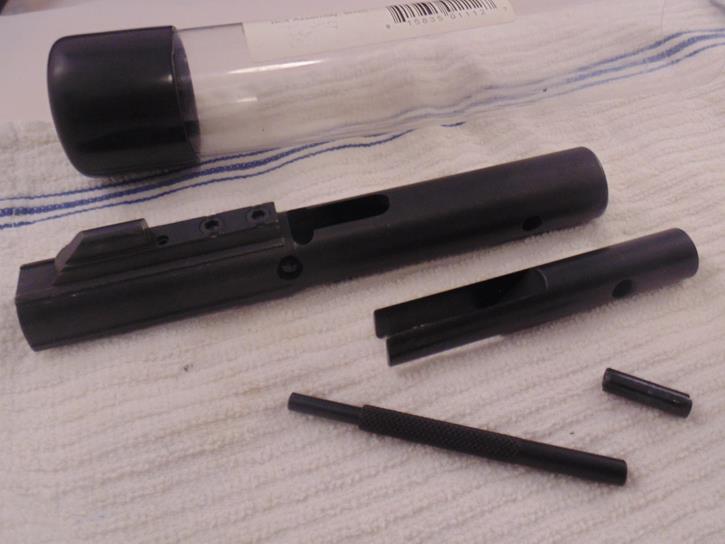
 Next is the bolt catch installation, something that gave me a lot of trouble the first time, that I have now learned a few tricks that make it MUCH easier. First step is to get the pin started using needle nose pliars to hold it in place while you carefully tap it into place with a hammer and punch. Truthfully this is easiest with somebody to help you hold things and a couple layers of masking tape over the receiver will help prevent dings and scratches. Next tape the jaws of a pair of slip joint pliars and install the spring and plunger before gently squeezing the pin into place.
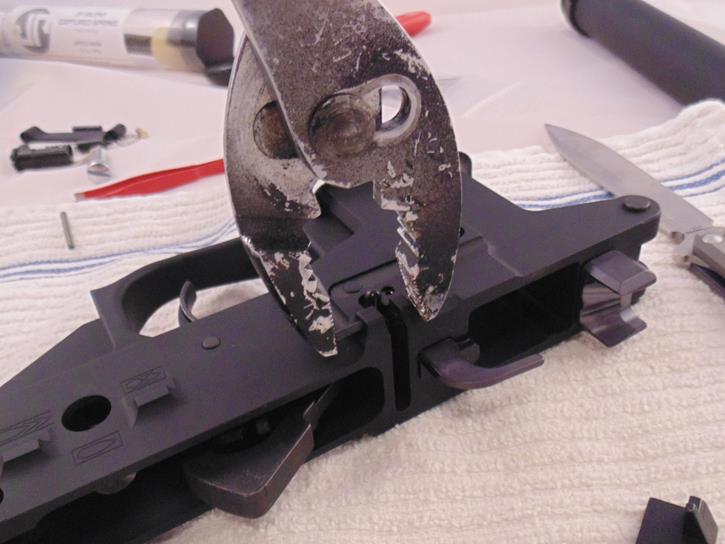
 The pliars will never get the pin completely installed so we finish up with a punch and hammer. It's a bit blurry but you can see how the QC10 magazine bolt hold open actuator interacts between the magazine follower and the mil spec bolt catch.


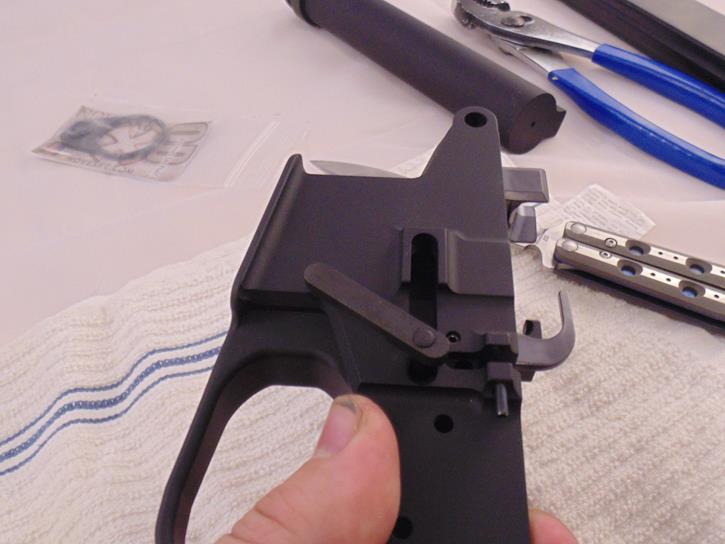
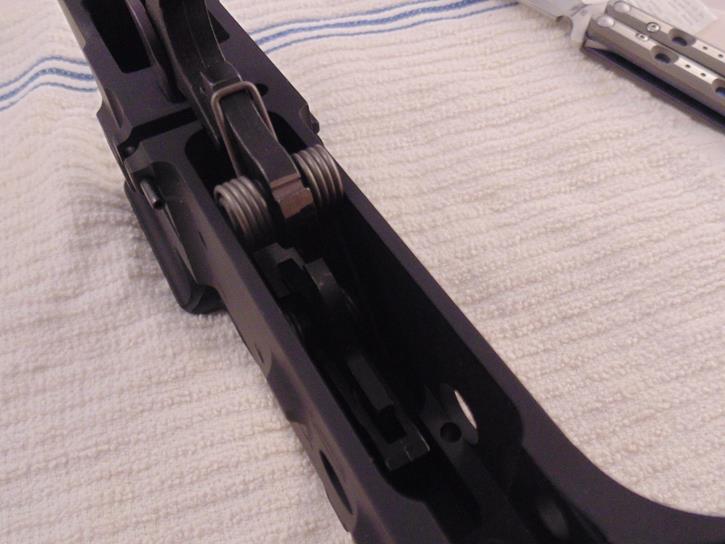
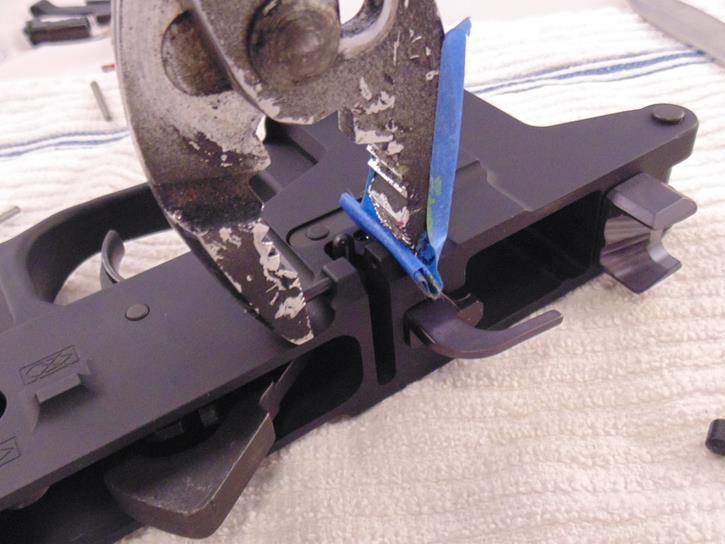
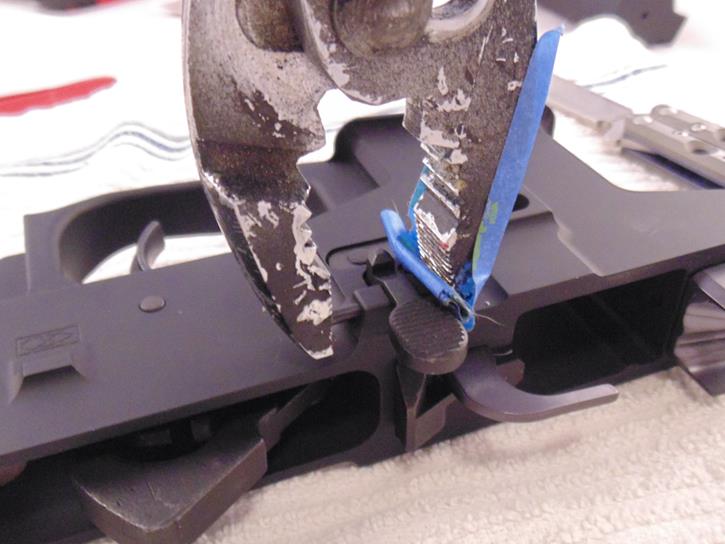
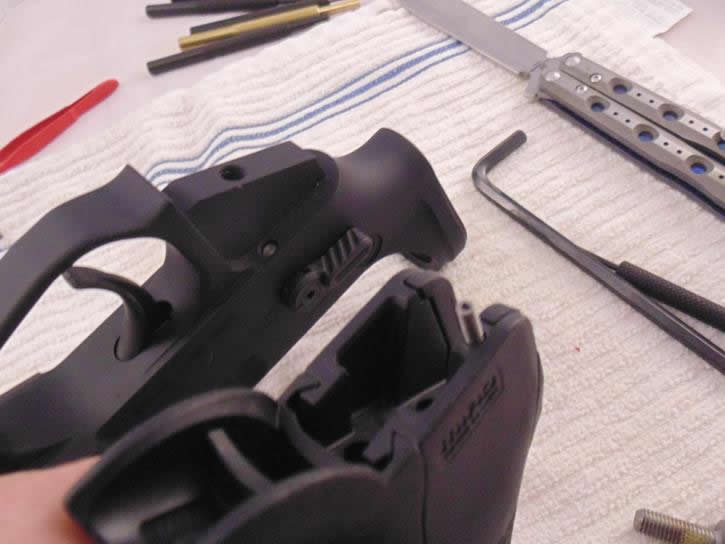
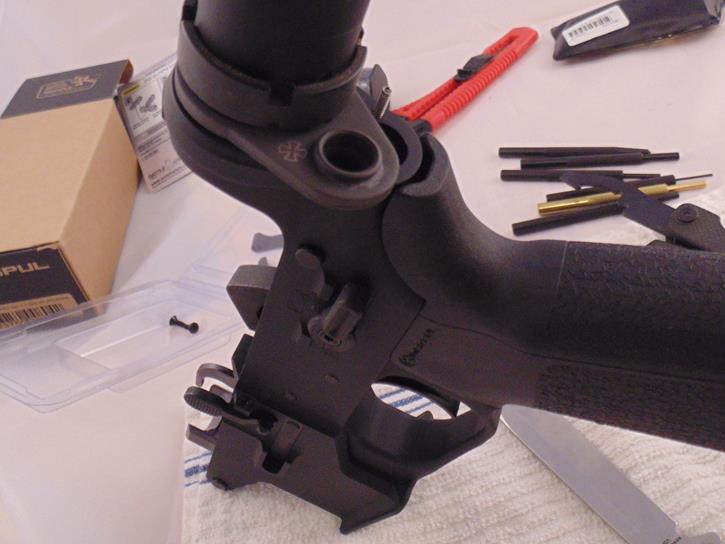
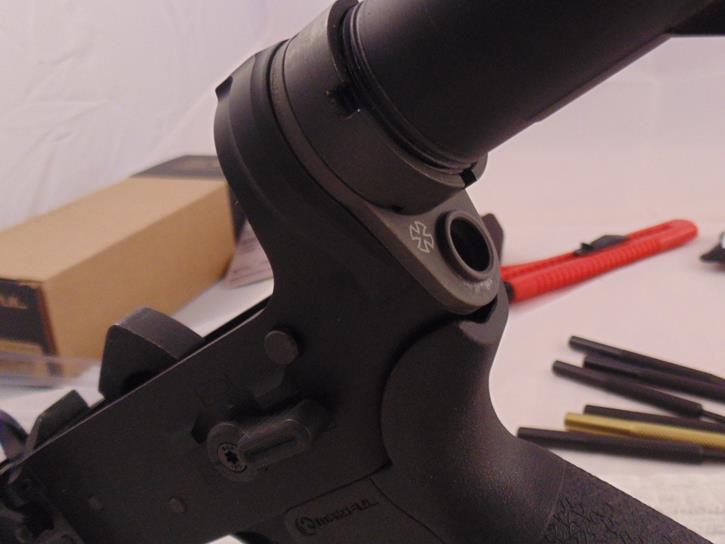
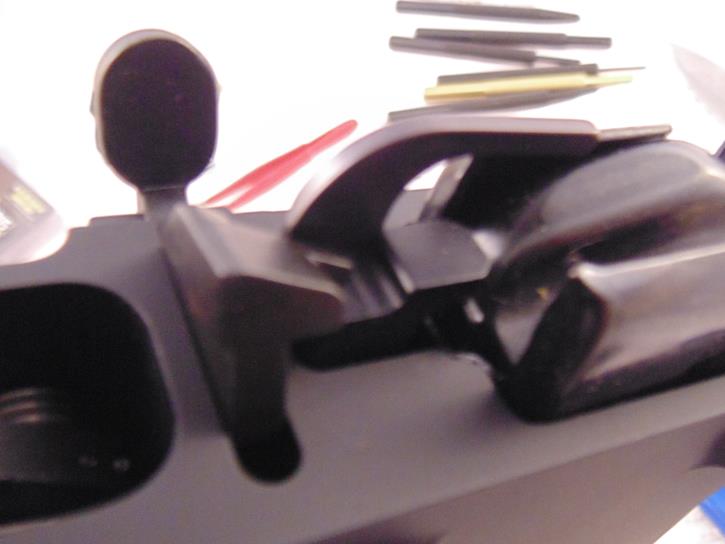 Next I install the safety selector. The BADCASS is an all metal ambidextrous selector that uses dovetails to make engage the selector levers to the central barrel instead of relying solely on the screws. Upside stronger....downside costs more. I also run the 45 degree short throw selector which is even more $$. The selector goes in and the levers are reinstalled. Afterwards, turn the receiver upside down and install the detent in the hole in the grip area before installing the detent spring in the grip itself. Installing the grip will keep everything in place.
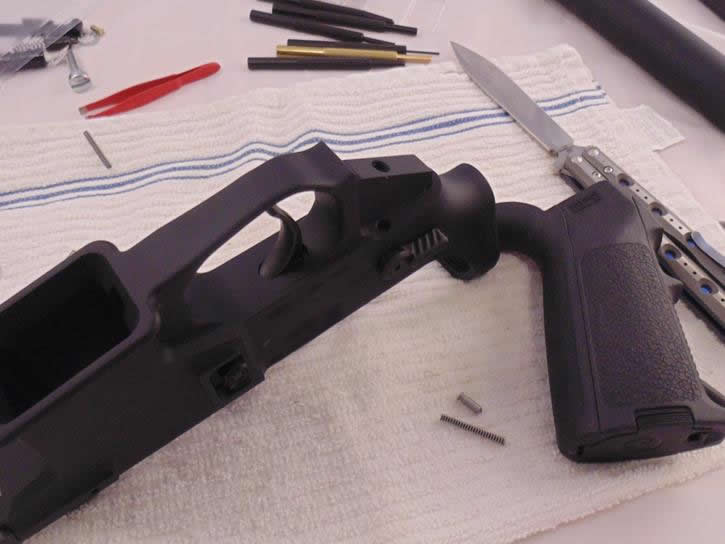
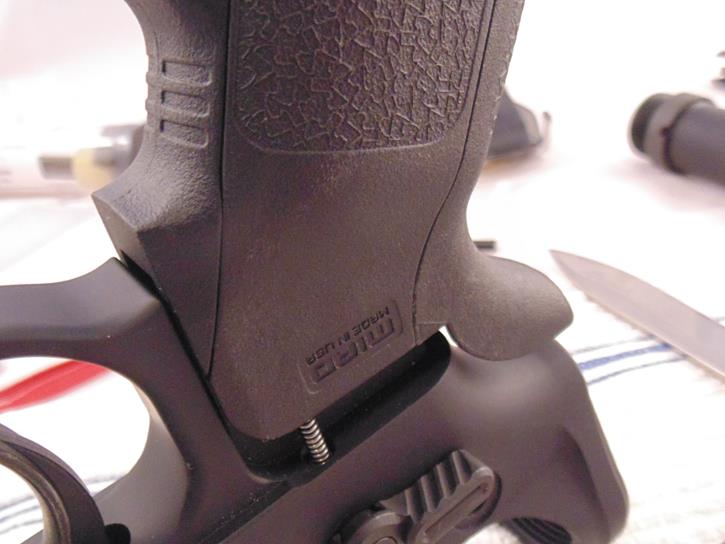
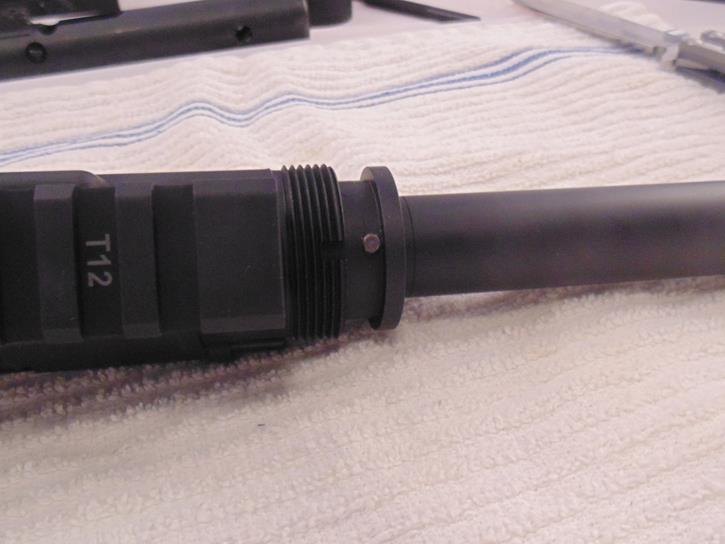
 Next comes the takedown pin, detent, and spring, as well as the buffer tube and tailplate. You can see where the detent and spring goes in the first photo but it's easier to install them once you have the buffer tube in place right before you tighten down the castle nut against the tail plate.
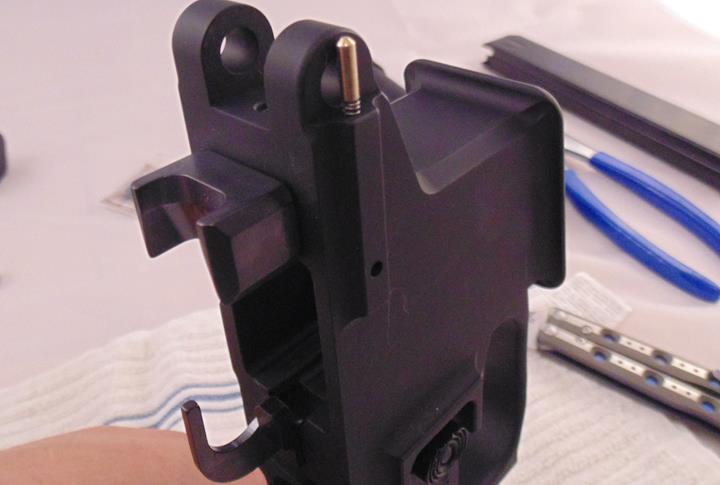
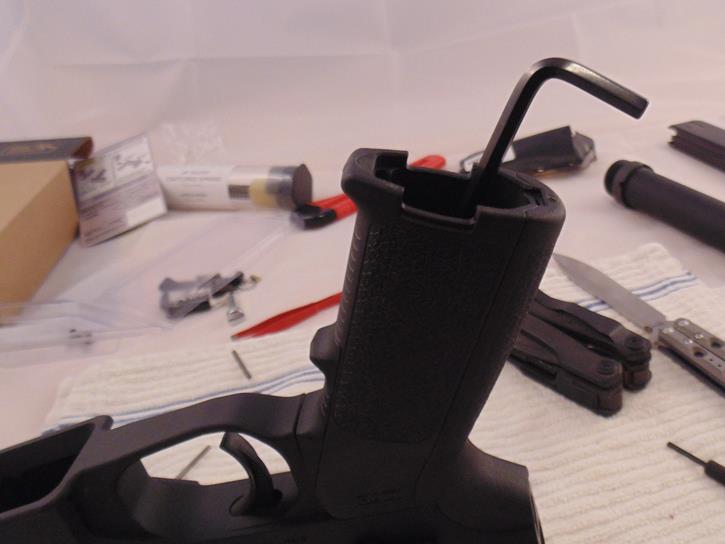
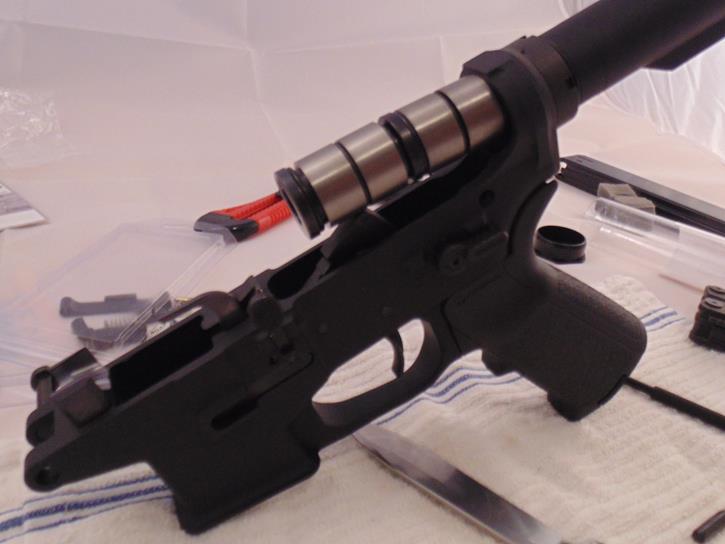
 Installing the buffer on this build is a little different. If you've ever assembled a stripped lower before you'll notice I've left out the buffer retatiner and retainer spring which are installed during buffer tube installation. The JP Rifles captive system doesnt require them so I've left them out. The buffer system slips into the buffer tube like a typical system but hung up a little on the hammer and needed some pressure on the hammer to allow a clear unhindered install.
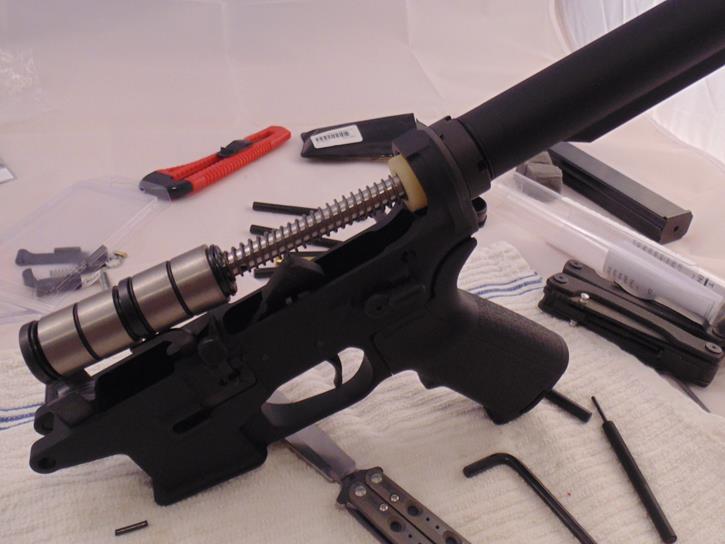
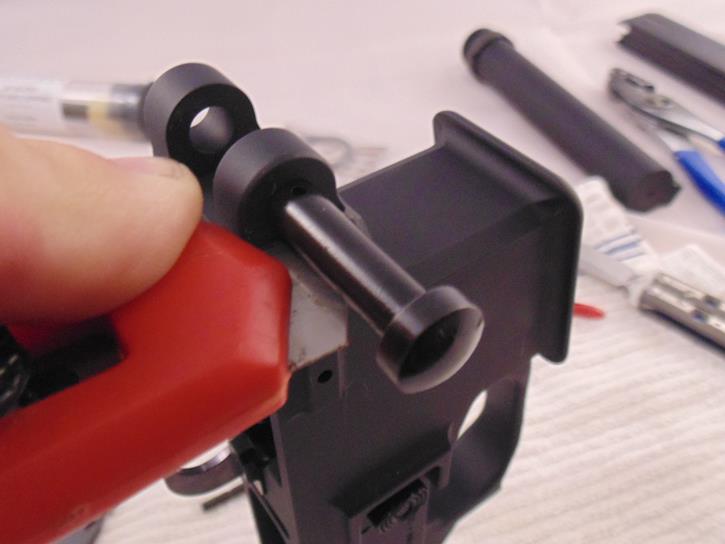
 Now if you're at all familiar with the AR9 platform and the JP captive buffer systems you're probably scratching your head about now. The AR9 bolt is solid, and the JP system needs clearance for the buffer rod to be swallowed by the bolt during cycling. This is accomplished by merely driving out the roll pin and removing he central weight from the carrier.

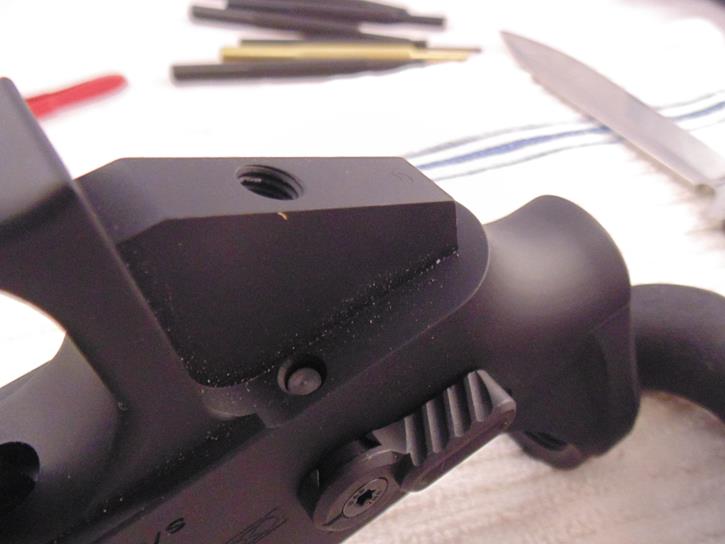
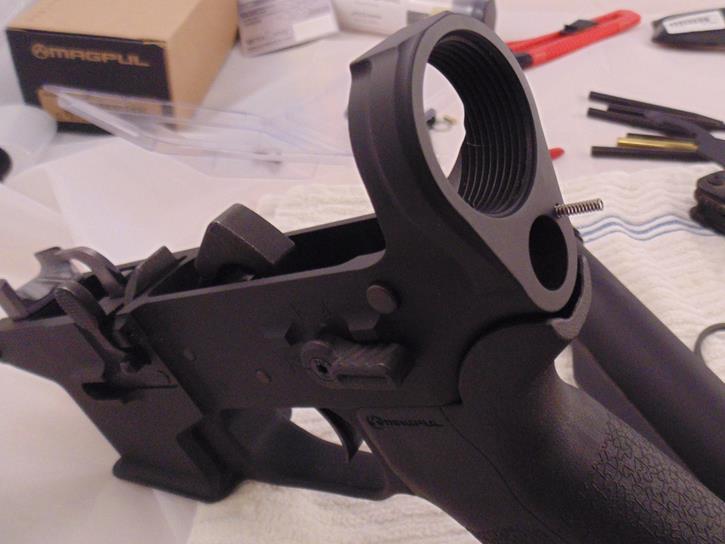
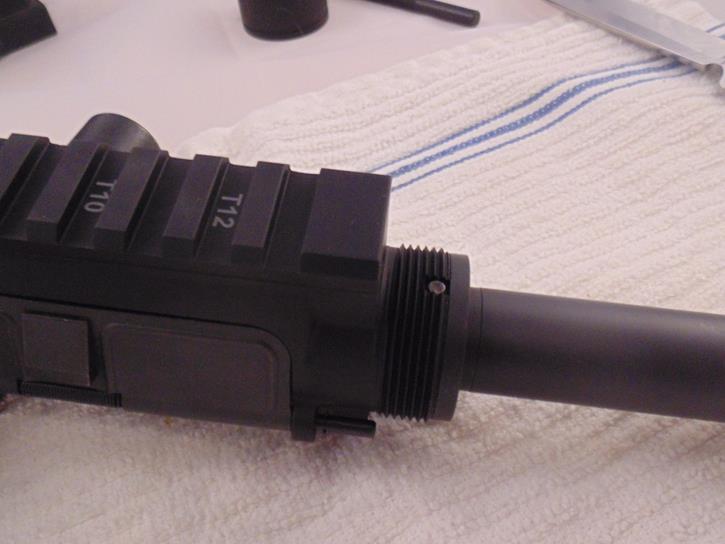
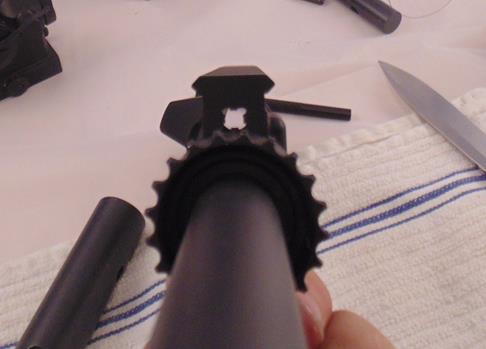
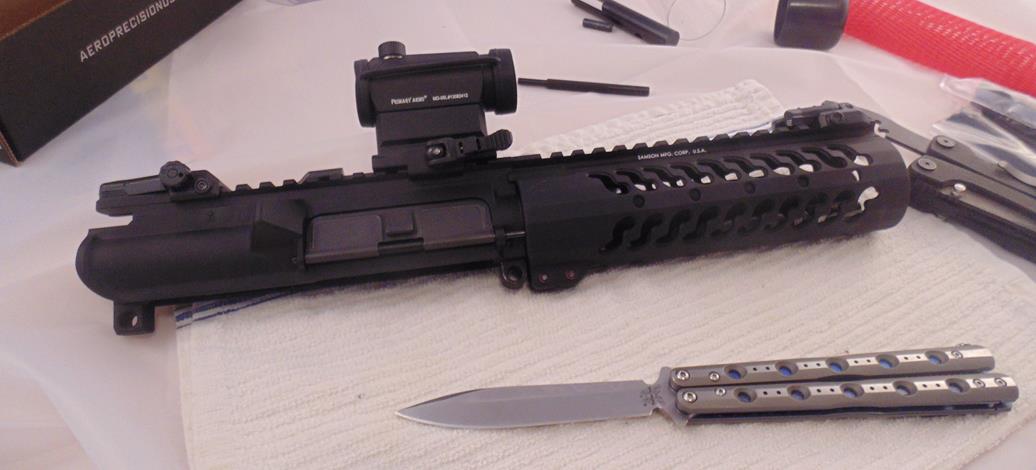
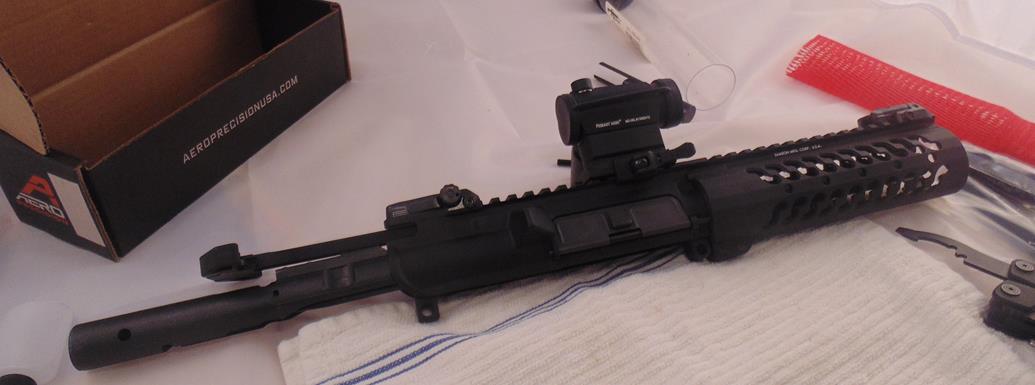
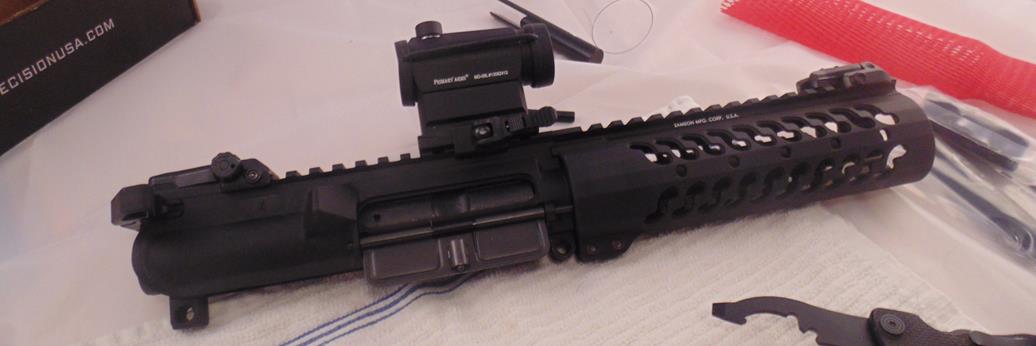
 Installing the barrel into the upper receiver is a simple matter of aligning the indexing pin in the barrel with the slot in the receiver. I'm using a Samson Evo rail which mounts via a mil spec barrel nut which is torqued into place as if you were installing a gas impingment system so that the splines of the nut are clear of the gas tube hole in the receiver. The included heat dissipation mounting bushings are put in place on the barrel nut splines and the rail slides over them before being tightened into place.
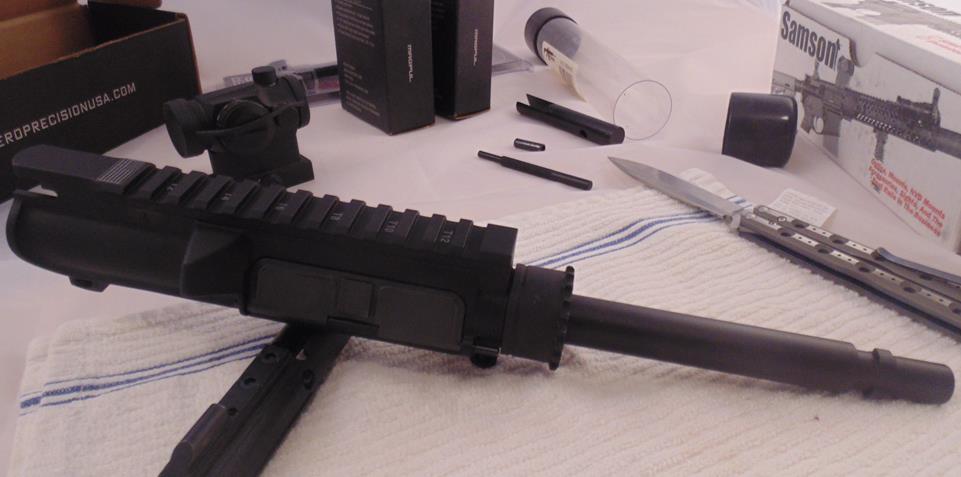

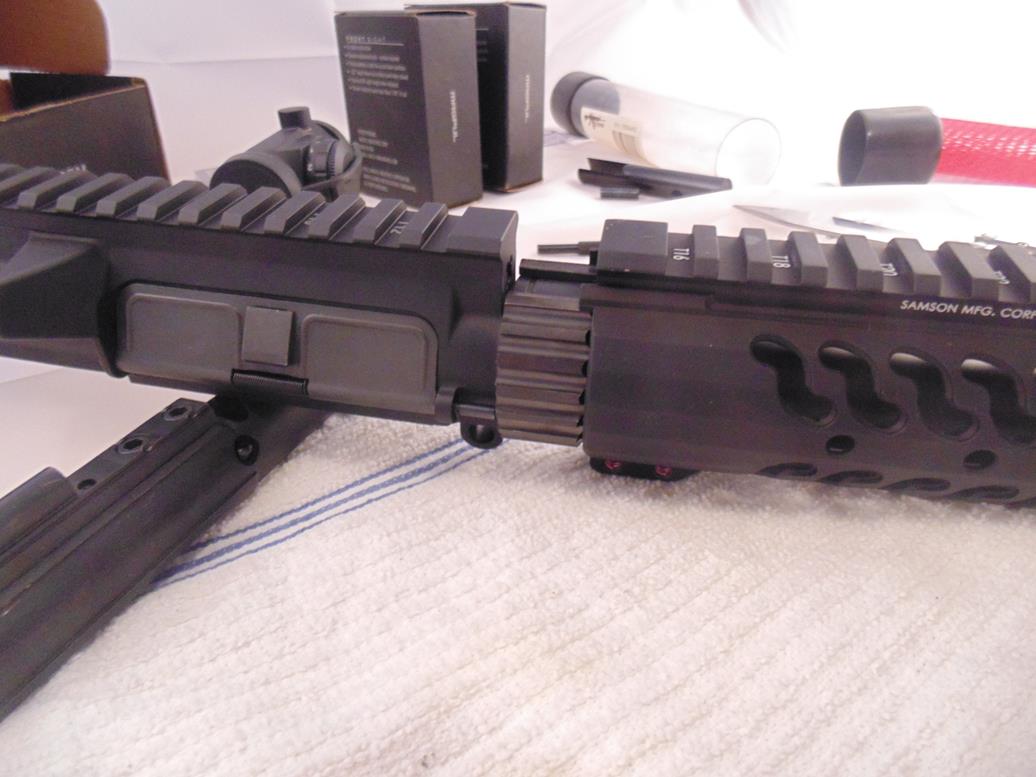
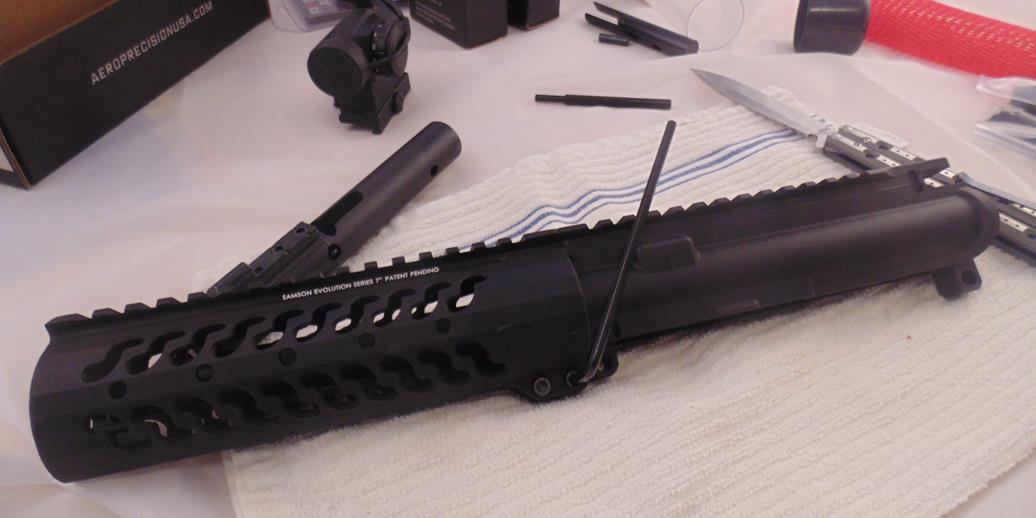
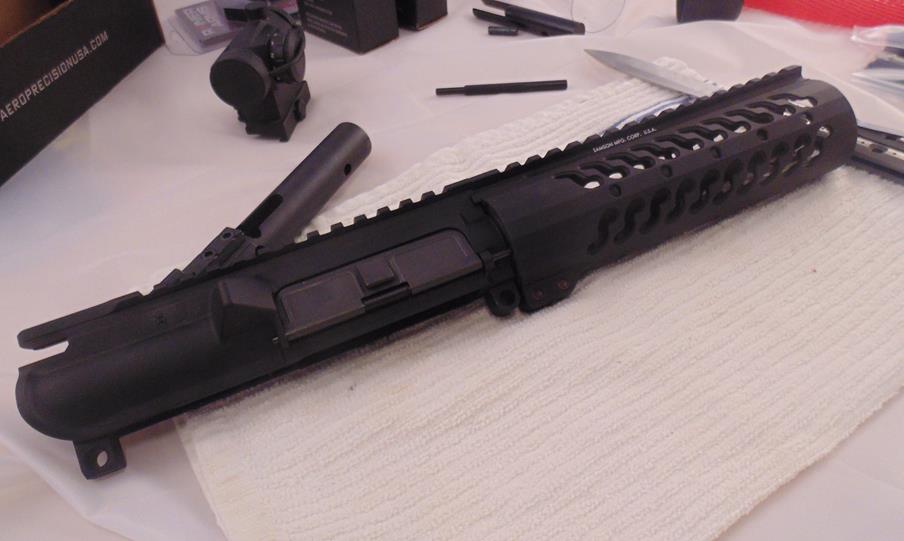 Sights, optics, bolt, and charging handle come next before the upper half is installed on the lower and rifle is complete.
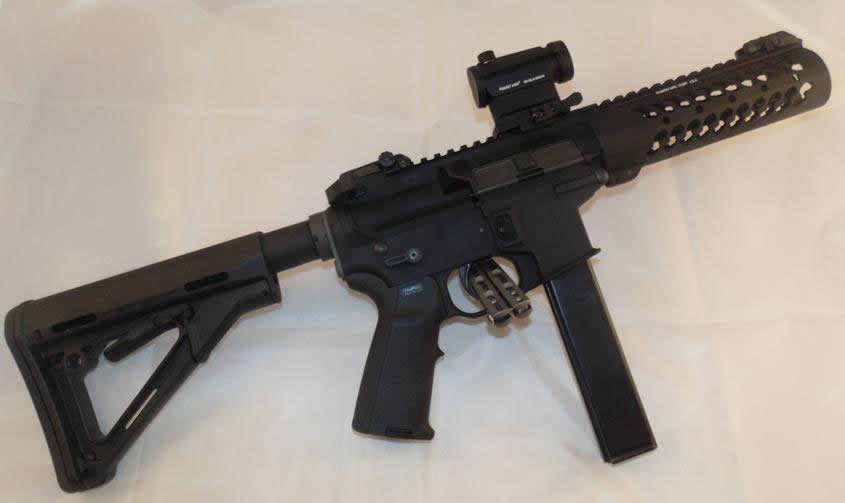
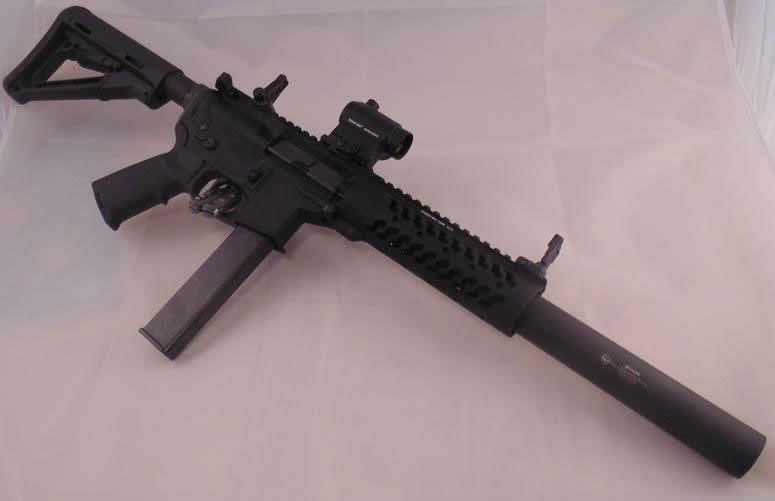
And yet another AR9 PCC is born
Home
MP5's 101
A Basic Visual Guide to Roller Lock Variants
The AR9 9mm AR15
AR9 Build Pictorial
AR45 45ACP AR15
AR40/357/10mm/9x25Dillon
UZI Build Pictorial
Contact
Links
Pariah Arms LLC
Pariah Arms is a small research and devolpment firm located in West Texas specializing in NFA items.


ALL CONTENT COPYRIGHT PARIAH ARMS LLC

Proud supporter of the NFA Freedom Alliance
If you value your rights and love NFA weapons you should be a member too.
www.nfafa.org
CSS Framework Provided By BlueprintCSS